

Quick Conclusion & Recommendation: Mastering how to split screen laptop and monitor setups is essential for modern productivity. If you are looking for the fastest way to achieve this, simply connect your external display via HDMI or USB-C, press Windows Key + P, and select "Extend." This immediately creates a dual monitor split screen environment.
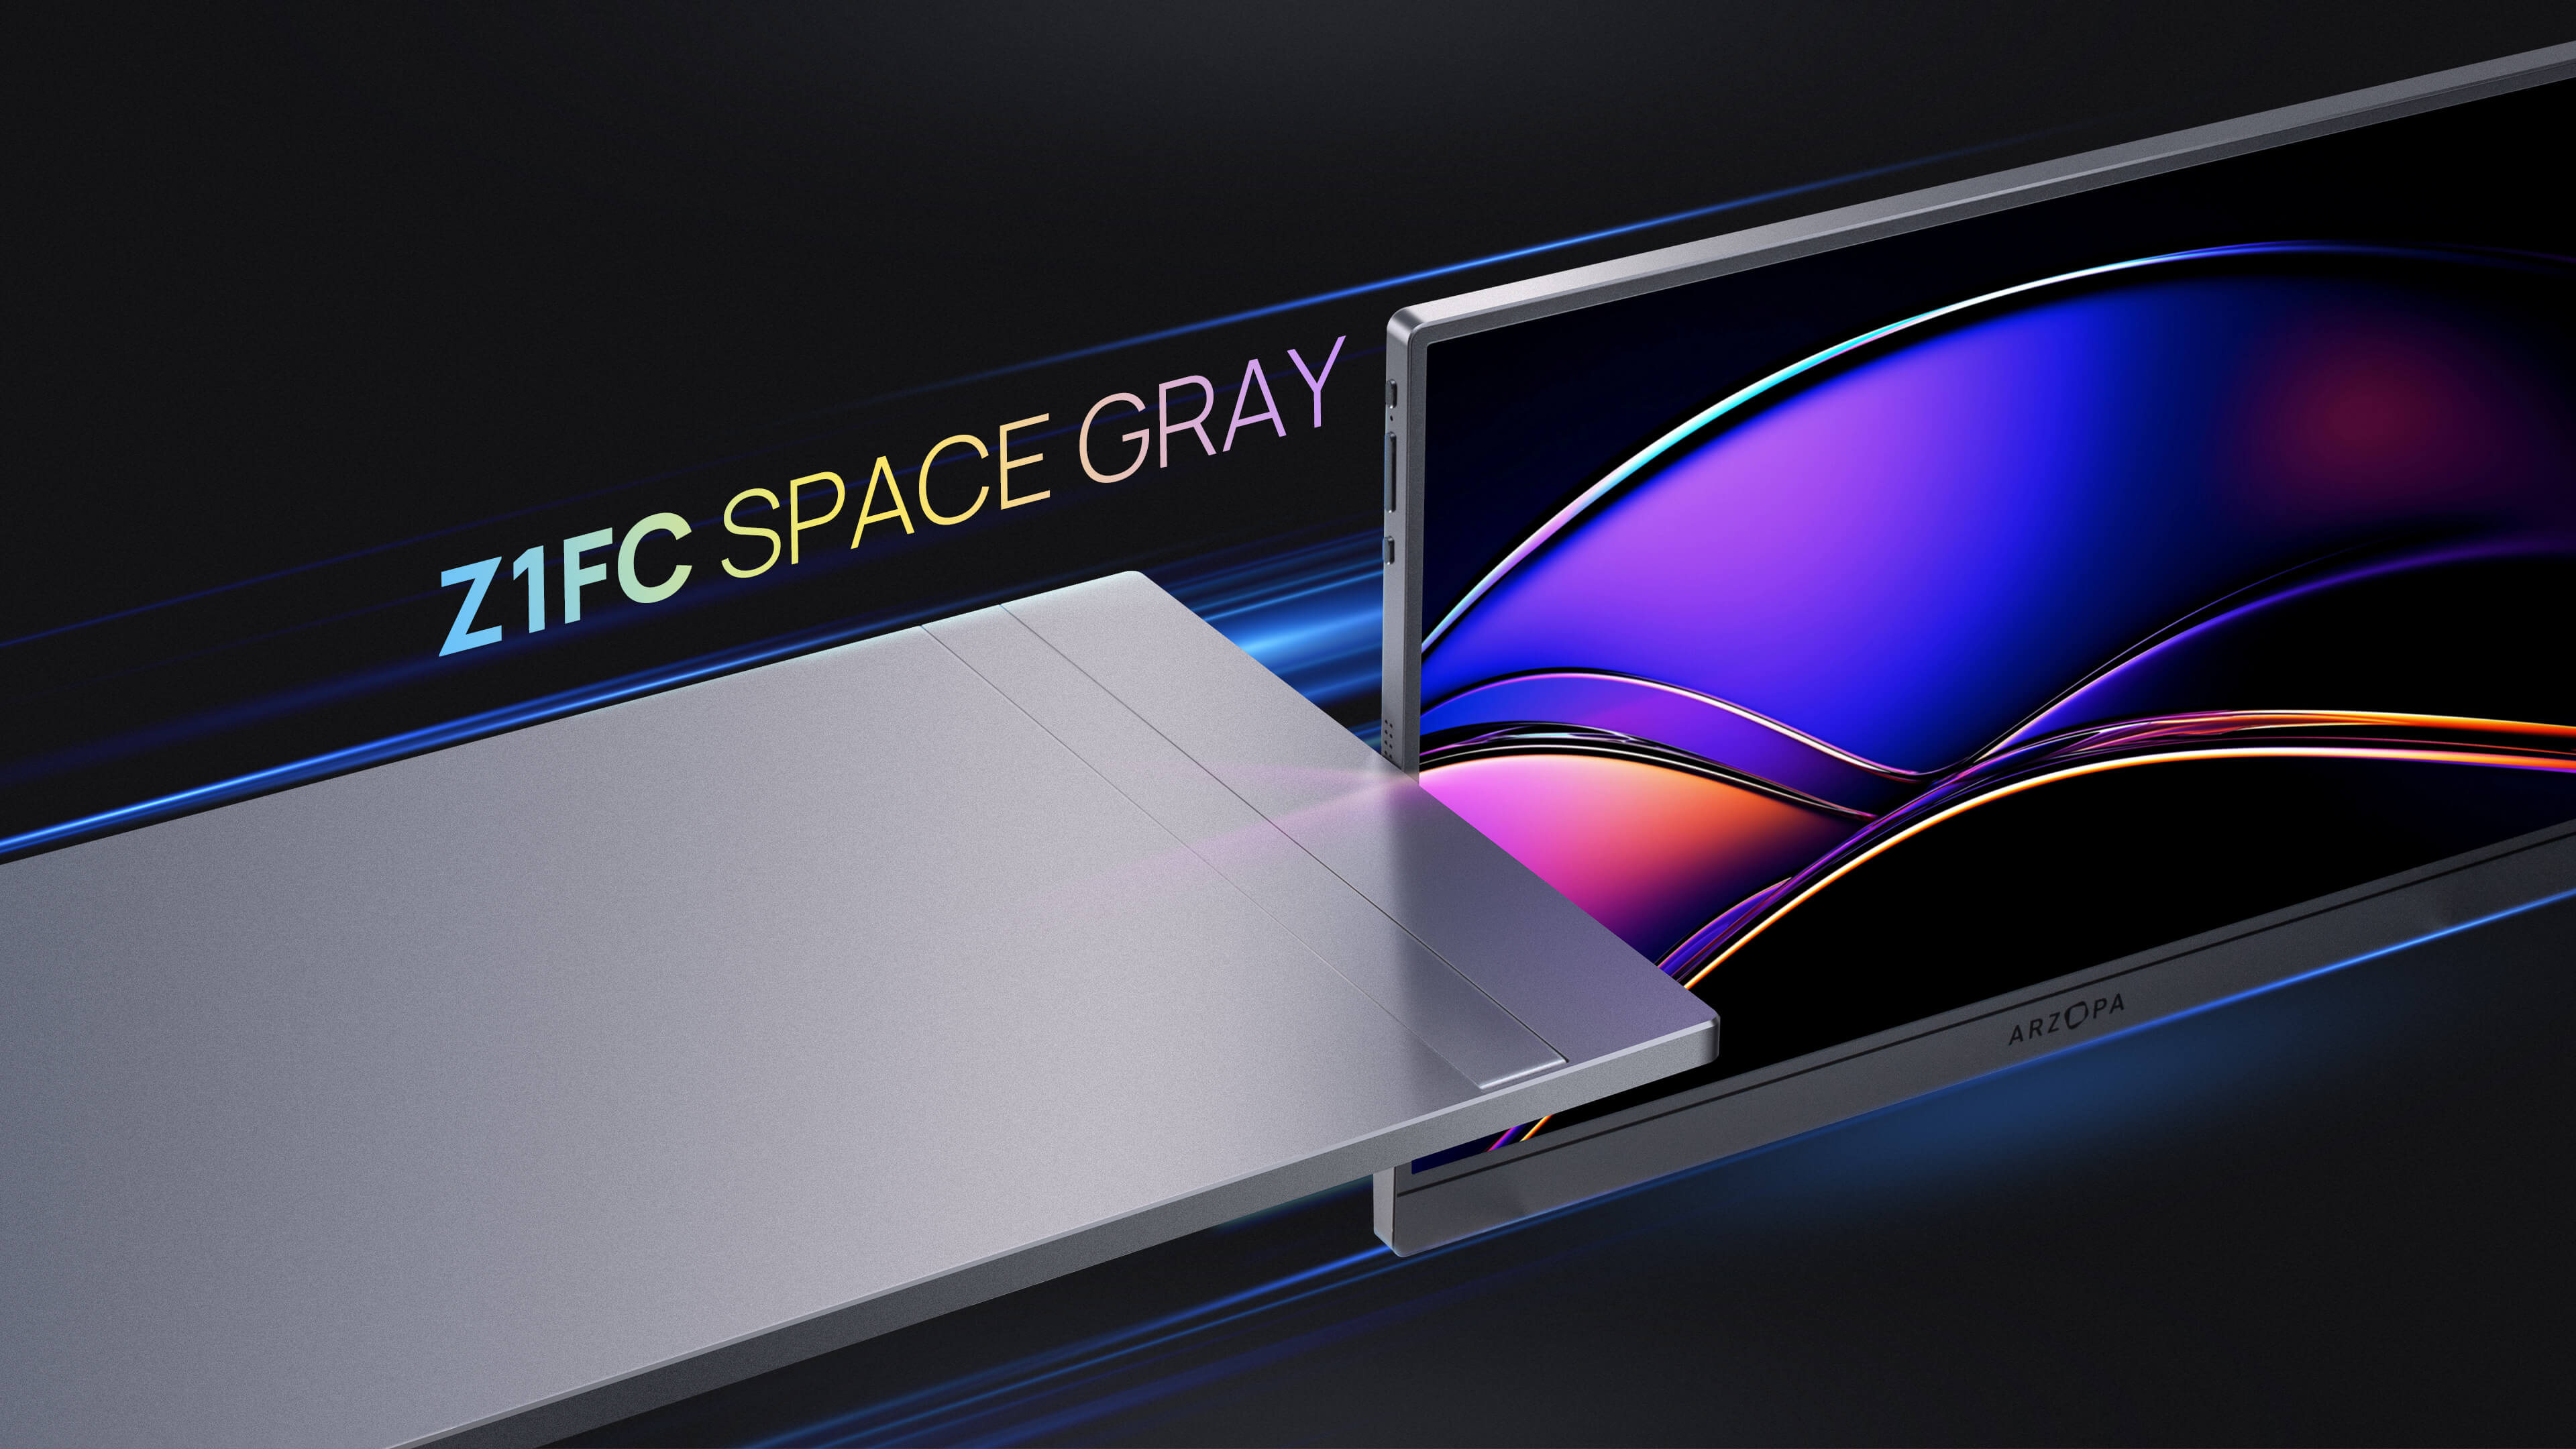
For the best on-the-go experience, we highly recommend adding a dedicated portable screen like the Arzopa Z3FC Portable Monitor. Its lightweight design and USB-C connectivity make setting up a split screen laptop and monitor workflow seamless anywhere. This guide covers everything from basic connections to advanced multitasking using Windows Snap Layouts and keyboard shortcuts to optimize your workflow.

Understanding Split Screen: Laptop and Monitor Setup
When users ask how to split screen laptop and monitor, they typically refer to "Extending" their display. Unlike "Duplicating," which shows the same image on both screens, extending allows you to drag windows across boundaries, effectively doubling your digital workspace.
A proper dual monitor split screen configuration lets you keep reference materials on your laptop screen while drafting documents on your external monitor. This setup is crucial for data analysis, coding, creative design, and general multitasking. By understanding the distinction between mirroring and extending, you unlock the true potential of your hardware.
Modern operating systems like Windows 10 and 11 have built-in features specifically designed to manage a laptop external monitor split screen configuration effortlessly. You do not need expensive third-party software; you only need the right hardware connections and knowledge of system settings.
Prerequisites: What You Need
Before attempting a dual monitor setup split screen tutorial, ensure you have the necessary components. The most critical element is a compatible external display. High-quality options like those found on Arzopa's official homepage provide plug-and-play simplicity that reduces technical headaches.
Here is a checklist for a successful setup:
- Laptop: A Windows laptop (Windows 10 or 11 recommended).
- External Monitor: Standard desktop monitor or a portable monitor like the Arzopa Z3FC.
- Cables: HDMI, DisplayPort, or USB-C cable (depending on your ports).
- Power Source: Ensure both the laptop and monitor are powered (some portable monitors draw power directly from the laptop).
If you are wondering how to split screen between laptop and monitor with HDMI, simply plug one end of the HDMI cable into your laptop and the other into the monitor. Windows should automatically detect the new device. For newer laptops with USB-C/Thunderbolt 3 or 4, a single cable can often transmit both video and power, simplifying the process significantly.
Method 1: Using Windows Snap Layouts (Windows 11)
For users running the latest OS, learning split screen laptop and monitor Windows 11 techniques is incredibly intuitive thanks to "Snap Layouts." This feature creates organized grids for your open windows across all connected displays.
To use Snap Layouts:
- Hover your mouse cursor over the "Maximize/Restore" button (the square icon) at the top-right corner of any window.
- A menu will appear showing various grid layouts (two side-by-side, three columns, four quadrants, etc.).
- Click on the zone where you want the current window to snap.
- Snap Assist will then display your other open windows in the remaining empty zones. Click a window to fill that space.
This method is superior for managing complex workflows. You can have a 50/50 split on your laptop screen while having a 70/30 split on your laptop external monitor split screen setup, allowing for up to six or more visible apps simultaneously.

Method 2: Using Keyboard Shortcuts (Windows 10/11)
Efficiency experts often prefer keyboard commands. Whether you are using split screen laptop and monitor Windows 10 or Windows 11, the shortcuts remain largely the same and are the fastest way to organize windows.
Essential Keyboard Shortcuts:
- Windows Key + Left Arrow: Snaps the active window to the left half of the current screen.
- Windows Key + Right Arrow: Snaps the active window to the right half.
- Windows Key + Up/Down Arrow: Snaps the window to the top or bottom quadrant (great for 4-window setups).
- Windows Key + Shift + Left/Right Arrow: Instantly moves the active window to the next monitor.
This last shortcut is a game-changer for dual monitor split-screen users. It allows you to fling applications from your laptop display to your external monitor without touching the mouse, maintaining your flow state.

Video Tutorial: Managing Different Content on Two Screens
Method 3: Display Settings Configuration
Sometimes hardware defaults to "Duplicate" mode. To fully enable how to split screen laptop and monitor functionality, you must configure the display settings to "Extend."
Step-by-Step Configuration:
- Right-click on an empty area of your desktop and select Display Settings.
- Scroll down to the "Multiple displays" section.
- In the drop-down menu, select Extend these displays.
- Scroll back up to the diagram of your screens (labeled 1 and 2). Drag the boxes to match the physical arrangement of your monitors (e.g., if your external monitor is to the left of your laptop, drag box 2 to the left of box 1).
Correct arrangement allows your mouse to move naturally between screens. If you skip this step, your cursor might hit a "wall" or jump unexpectedly, disrupting the how to use split screen on laptop and monitor.
Advanced Split Screen Techniques
Once you have mastered the basics, you can elevate your dual monitor setup split screen tutorial experience with advanced tools. Microsoft PowerToys is a free utility that includes "FancyZones," a feature far more powerful than standard Snap.
With FancyZones, you can create custom zones on your monitors. For example, on an ultra-wide portable monitor, you could create three vertical columns: one for chat, one for your browser, and one for email. This transforms a simple laptop external monitor split screen into a command center.
Another technique is using virtual desktops (Windows Key + Ctrl + D). You can have one desktop dedicated to work (split across both screens) and another for personal use, keeping your digital life compartmentalized yet accessible.
Why Arzopa Portable Monitors Are Perfect for Split Screen Setups
A traditional desktop monitor is great, but it lacks flexibility. A portable monitor split screen setup using an Arzopa display offers unique advantages. Devices like the Arzopa Z3FC provide QHD resolution and high refresh rates in a form factor you can carry in a backpack.
Benefits of Arzopa Portable Monitors:
- Mobility: Maintain your dual-screen productivity at coffee shops, hotels, or co-working spaces.
- Single-Cable Connectivity: Many Arzopa models require only one USB-C cable for both signal and power, eliminating cable clutter.
- Versatile Orientation: Easily switch between landscape and portrait modes. Portrait mode is ideal for coding or reading long documents alongside your main laptop screen.
Integrating an Arzopa monitor solves the common issue of feeling limited when working away from your main desk. It creates a consistent how to split screen laptop and monitor environment wherever you go.
Troubleshooting Common Issues
Even the best setups encounter hiccups. Here are solutions to common problems when learning how to split screen laptop and monitor:
1. "No Signal" on External Monitor:
Ensure your specific USB-C port supports video output (DisplayPort Alt Mode). Not all USB-C ports carry video signals. If using HDMI, check that the correct input source is selected on the monitor menu.
2. Fuzzy or Stretched Resolution:
Go to Settings > System > Display. Select the external monitor and ensure the "Display resolution" is set to "Recommended" (native resolution). A mismatch often occurs if you are mirroring screens with different aspect ratios; always use "Extend" mode to fix this.
3. Windows Snapping Not Working:
Verify that Snap is enabled. Go to Settings > System > Multitasking and ensure the "Snap windows" toggle is On.
Productivity Tips for Split Screen Mastery
To get the most out of your how to split screen laptop and monitor arrangement, adopt these workflow habits:
- Designate Primary Tasks: Keep your main focus area (typing, coding) on the screen directly in front of you to reduce neck strain. Use the secondary screen for reference material.
- Match Scaling: If your laptop is 14 inches and your monitor is 27 inches, text sizes will differ. Adjust the "Scale and layout" percentage in Display Settings so items look roughly the same size on both screens.
- Focus Assist: Use Windows Focus Assist to silence notifications on your secondary screen during deep work sessions, preventing visual distractions.
Conclusion
Learning how to split-screen a laptop and monitor is a transformative skill for digital workflow. Whether you utilize split-screen laptop and monitor Windows 10 shortcuts or the advanced Snap Layouts in Windows 11, the result is significantly increased efficiency.
Remember that the quality of your secondary display matters. A versatile solution like the Arzopa Z3FC ensures that your portable monitor split-screen setup is as sharp and responsive as a desktop workstation. By following this guide, you have moved beyond basic usage to become a power user, capable of managing complex tasks across multiple displays with ease.
Frequently Asked Questions (FAQ)
How do I split my screen between my laptop and an external monitor?
To split your screen between a laptop and external monitor, first connect the monitor via HDMI or USB-C. Press Windows Key + P and select "Extend." Then use Windows Key + Left/Right Arrow to snap windows to different halves of each screen. This creates an extended workspace across both displays.
Can I use different split screen layouts on my laptop and monitor?
Yes! In Windows 11, use Snap Layouts to create different arrangements on each display. For example, you can have a 50/50 split on your laptop screen while maintaining a 70/30 split on your external monitor. Hover over the maximize button on any window to access layout options specific to that screen.
What's the difference between "Duplicate" and "Extend" displays?
"Duplicate" shows the same content on both screens, useful for presentations. "Extend" treats your laptop and monitor as one continuous workspace, letting you drag windows between screens and effectively doubling your work area. For split screen productivity, always choose "Extend these displays" in Windows Display Settings.
Why isn't my external monitor being detected by my laptop?
If your monitor isn't detected, check these common issues: 1) Ensure the cable is firmly connected to both devices, 2) Verify your USB-C port supports video output (DisplayPort Alt Mode), 3) Try pressing Windows Key + P and manually selecting "Extend," 4) Update your graphics drivers, 5) Restart your laptop with the monitor connected.
![Use iPad as a External Monitor for Any Device [Mac/PC/Consoles]](http://www.arzopa.com/cdn/shop/articles/Use_iPad_as_a_External_Monitor_for_Any_Device_MacPCConsoles_6155fe86-87bb-4ce8-8ea0-7a16c2c21959.webp?v=1770711556&width=1)


![Miracast iPhone to Any Screen: Windows/TV/Monitor/Mac [Full Guide 2026]](http://www.arzopa.com/cdn/shop/articles/Miracast_iPhone_to_Any_Screen_WindowsTVMonitorMac_Full_Guide_2025_ad460ad7-6f8b-4bce-90cd-54d0fcb5bb6f.webp?v=1767508426&width=1)