How to Use Your iPad as an HDMI Monitor?
The versatility of iPads has grown tremendously over the years, transforming them into powerful and portable devices capable of various tasks beyond their original purpose. One intriguing application is the ability to use your iPad as an HDMI monitor. This guide will explore how to leverage your iPad as an external display, unlocking a world of possibilities for enhanced productivity, entertainment, and creativity.
iPad as HDMI Monitor vs Traditional HDMI Monitors
Using an iPad as an HDMI monitor has become increasingly popular, especially with apps like Orion that facilitate this setup. However, comparing it to traditional HDMI monitors reveals several pros and cons, as well as different cost-benefit scenarios for casual and professional use.
Pros and Cons of Using an iPad as an HDMI Monitor
Pros of Using an iPad as an HDMI Monitor:
- Portability: iPads are lightweight and highly portable, making them a convenient option for on-the-go use. This can be particularly beneficial for traveling professionals or gamers who want a portable setup.
- Versatility: iPads can serve multiple purposes beyond just being a monitor, including being a powerful tablet for productivity and entertainment.
- High-Resolution Display: iPads, especially the Pro models, offer high-resolution displays with excellent color accuracy and brightness, which can be beneficial for photo and video editing.
- Ease of Use: Setting up an iPad as an HDMI monitor can be straightforward with the right app and adapter, such as Orion, which allows for minimal lag and additional features like 4K upscaling and retro effects.
Cons of Using an iPad as an HDMI Monitor:
- Cost: While the iPad itself can be a costly investment, especially the higher-end models, the additional cost of adapters and specific apps can add up.
- Screen Size: iPads, even the larger models, have smaller screens compared to traditional monitors, which may not be ideal for all professional tasks.
- Compatibility Issues: Not all adapters work seamlessly, and finding the right setup can sometimes be trial and error. Additionally, there may be limitations in terms of connectivity options compared to traditional monitors.
Cost-Benefit Analysis
For casual users, such as gamers or occasional productivity tasks, using an iPad as a monitor can be quite beneficial. The portability and multi-functionality of the iPad make it a great choice for those who already own one and can utilize it for additional purposes. The investment in an adapter and potentially an app like Orion is relatively low compared to buying a new monitor.
For professionals, particularly those in fields like graphic design, video editing, or extensive multitasking, the benefits of a traditional HDMI monitor might outweigh those of using an iPad. Traditional monitors offer larger screen sizes, more connectivity options, and are often designed for prolonged use with ergonomic considerations. The initial investment in a high-quality monitor can be justified by the enhanced productivity and reduced strain on the eyes and body.
Using an iPad as an HDMI monitor can be a versatile and convenient solution, particularly for casual users or as a secondary display. However, for professional use, the limitations in screen size and potential connectivity issues might make traditional monitors or portable monitor a better choice despite the higher initial cost. Each option has its unique advantages, and the best choice depends on the specific needs and use cases of the user.
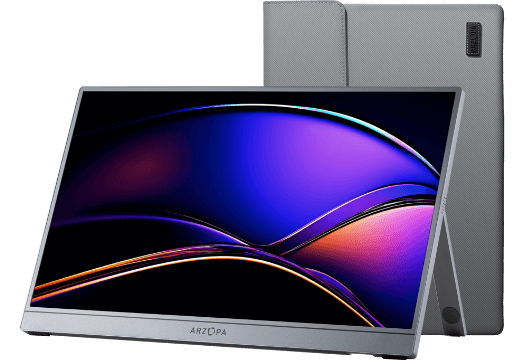
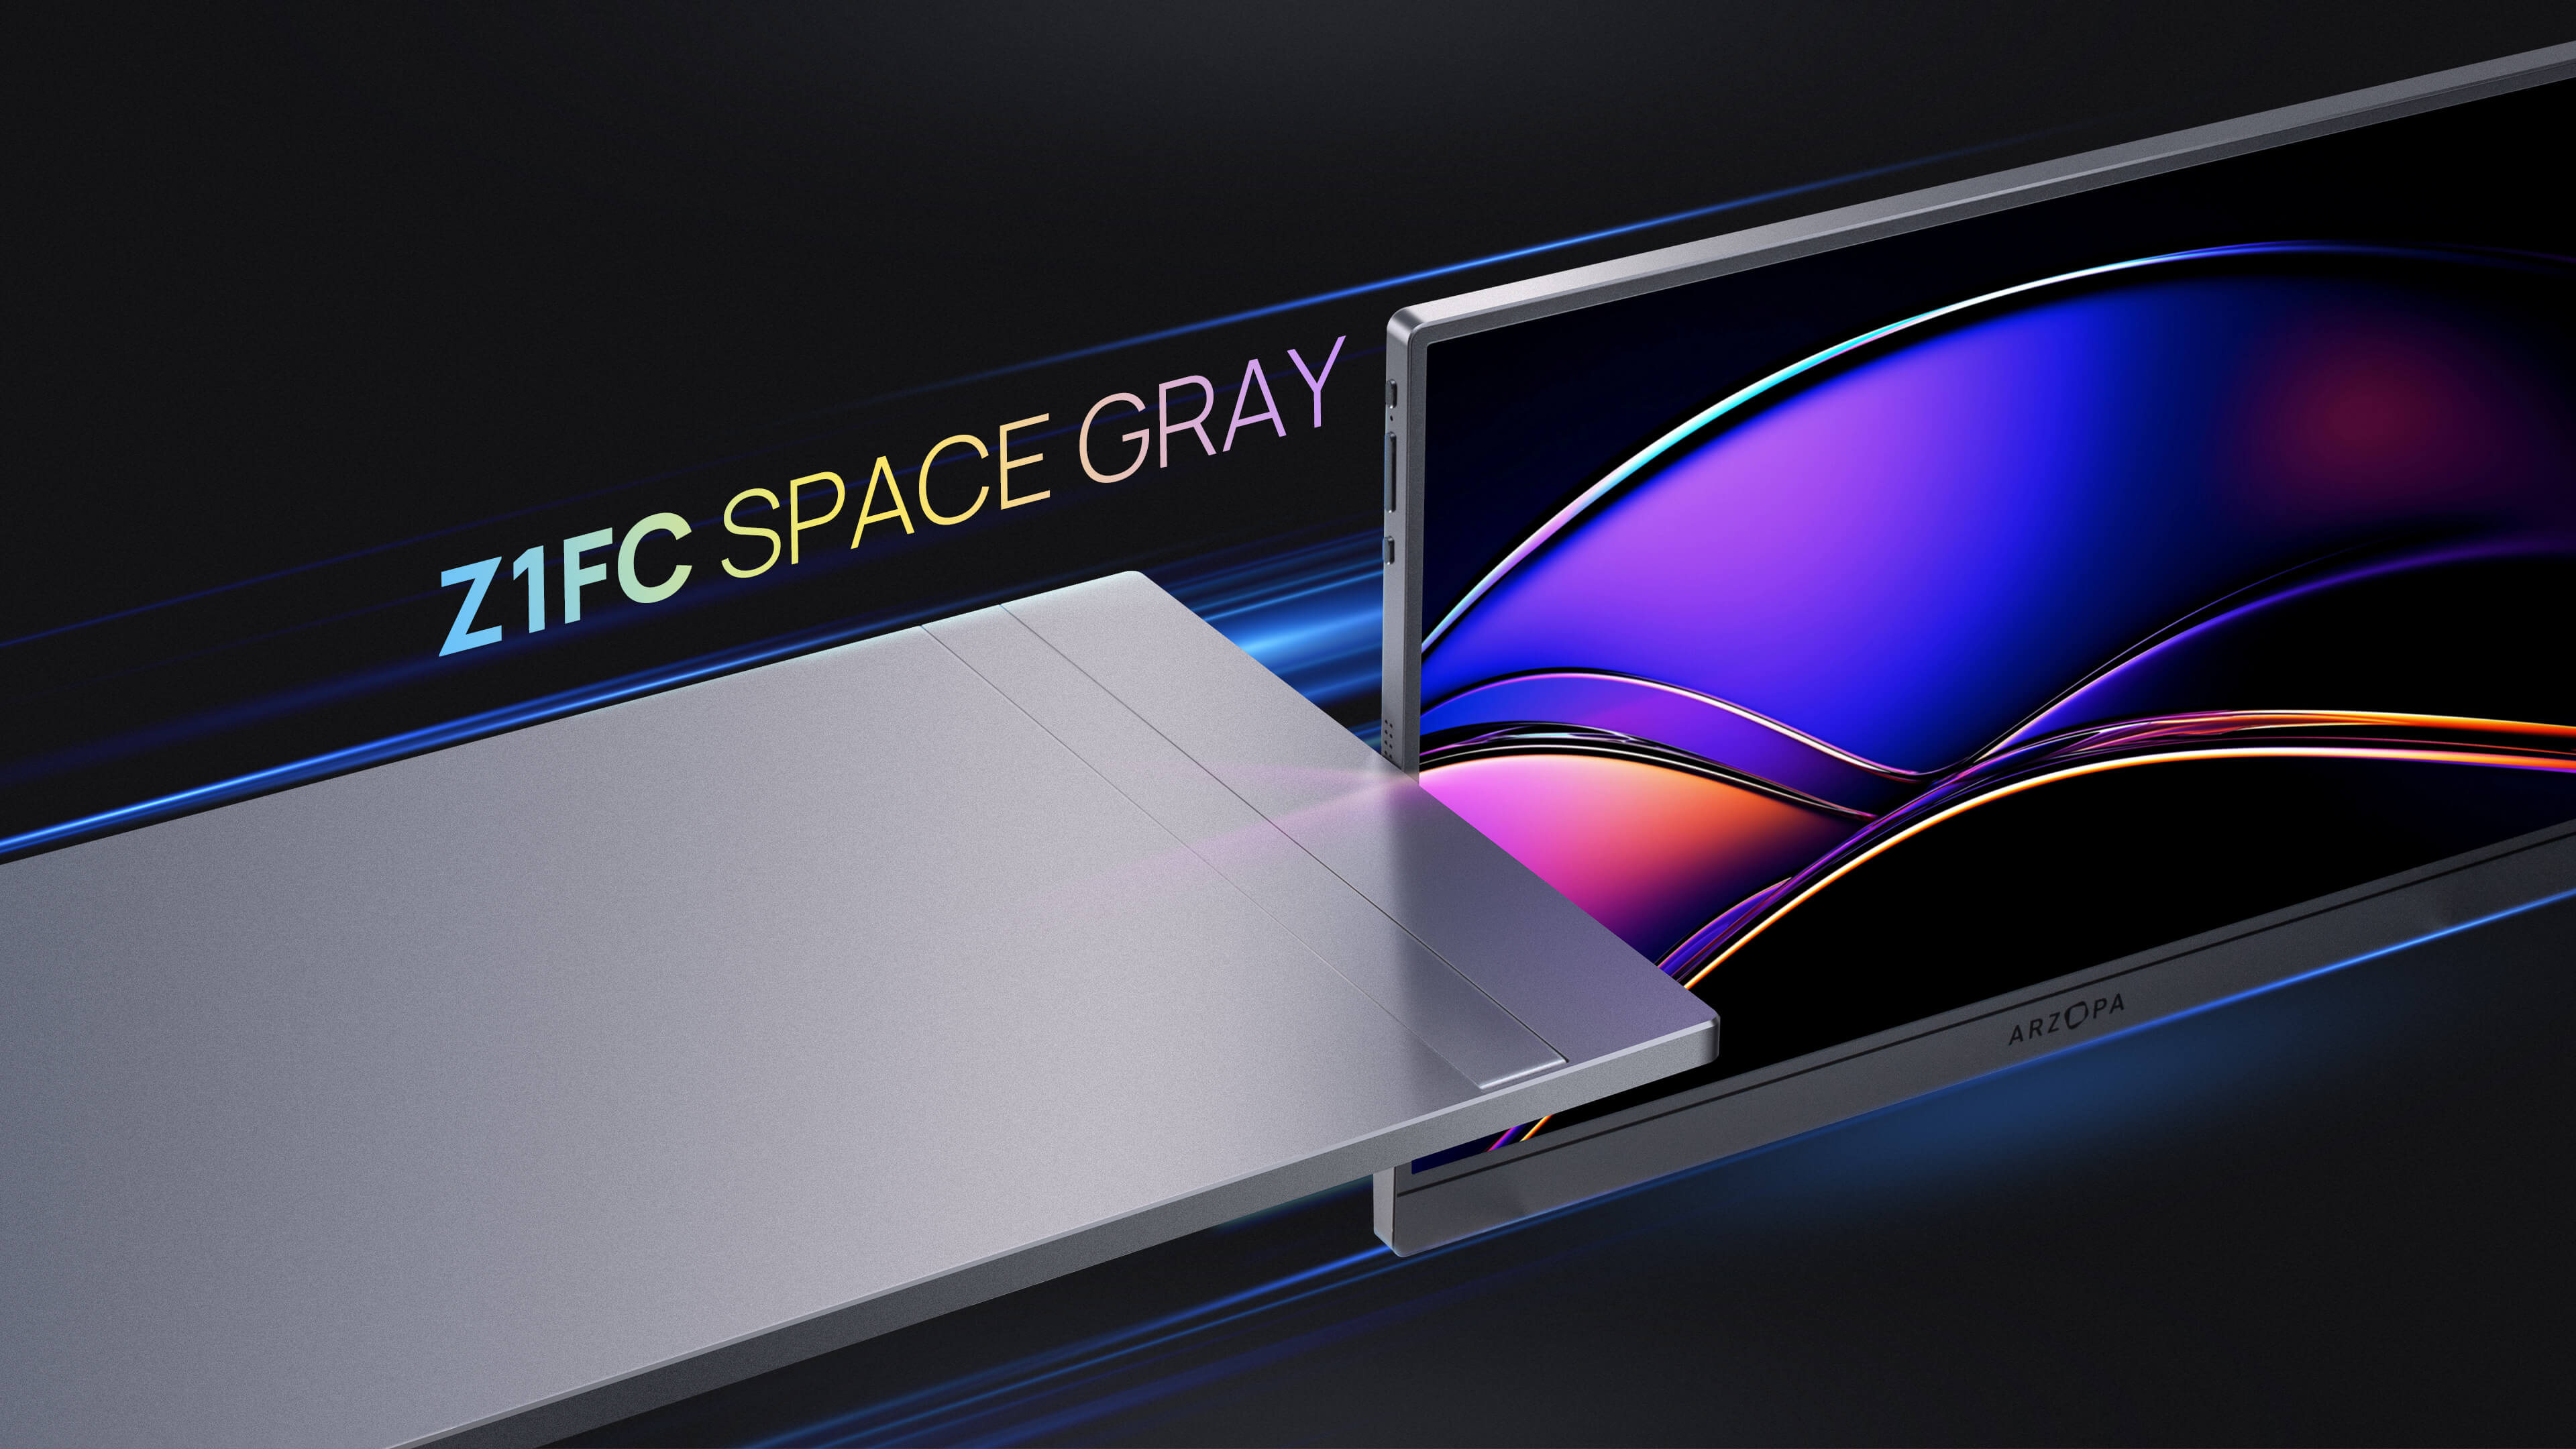
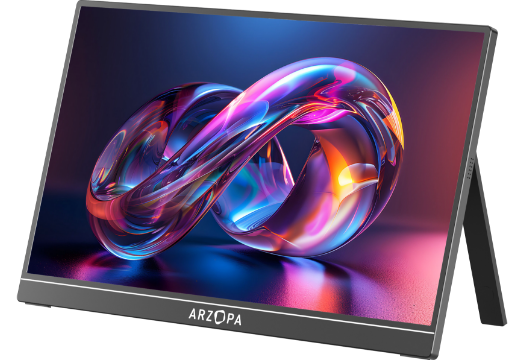
Recommendation: Arzopa Z1FC Portable Monitor
Gaming anywhere with Arzopa Z1FC 144Hz Portable Monitor for PS5, Xbox, Nintendo Switch, and more. Extend your phone or laptop screen at the office, at home or on the go. Features a full HD and 100% sRGB IPS screen for stunning visuals. Ultra-fast speed of 144Hz allows immediate action on screen. Why not experience smoother connection and clearer gaming movement now!
How to Use Your iPad as an HDMI Monitor?
Turning your iPad into an HDMI monitor involves a few key steps: setting up the necessary hardware, installing and configuring the right apps, and understanding practical use cases.
Setting Up the Hardware
Gather Required Hardware:
- Adapter: Depending on your iPad model, you will need a Lightning to HDMI adapter for older iPads or a USB-C to HDMI adapter for newer ones. Recommended adapters include Apple's Lightning to Digital AV Adapter or USB-C Digital AV Multiport Adapter.
-
HDMI Cable: Ensure the HDMI cable supports HDMI 2.0 or higher for optimal performance.

Connect the Adapter and HDMI Cable:
- Connect the adapter to your iPad's port.
- Plug one end of the HDMI cable into the adapter and the other end into your display's HDMI port.
- Switch your display to the appropriate HDMI input.
Installing and Setting Up the Necessary Apps
Download and Install Relevant Apps:
- Orion: One of the recommended apps for this purpose. Download it from the App Store. This app allows you to use your iPad as an HDMI monitor. It's free and available on the App Store. Ensure your iPad is running iPadOS 17 or later to use this app.
- Other alternatives include Duet Display and Air Display.
Configure App Settings:
- Open the app and follow the on-screen instructions to set it up.
- Adjust settings like resolution, orientation, and display preferences to ensure optimal performance and display quality.
Steps to Set Up
Acquire a USB-C to HDMI Capture Card: Purchase a compatible capture card from retailers like Amazon. Make sure it is not a regular USB-C hub or adapter, as these won't capture video.
Install the Orion App: Download and install the Orion app from the App Store on your iPad.
Connect the Hardware:
- Plug one end of the capture card into your iPad's USB-C port.
- Connect the other end to the HDMI cable.
- Attach the HDMI cable to the HDMI output of the source device (e.g., a gaming console or computer).
Launch the Orion App: Open the Orion app on your iPad. The app should automatically detect the connected device, and your iPad will start functioning as an external monitor.

Additional Tips
- Stage Manager Feature: If you have a newer iPad model (iPad Pro 11-inch 3rd gen or later, iPad Pro 12.9-inch 5th gen or later, or iPad Air 5th gen), you can use the Stage Manager feature for a more integrated multi-display experience.
-
Wireless Option with AirPlay: For those preferring a wireless setup, AirPlay allows you to mirror your iPad's screen to an Apple TV or compatible Mac.

By following these steps, you can effectively turn your iPad into a versatile HDMI monitor, suitable for gaming, presentations, or enhanced productivity setups.
Use Your iPad as an HDMI Monitor for a Camera Monitor
To use your iPad as an HDMI monitor for your camera:
- Connect your camera's HDMI output to a USB-C HDMI capture card.
- Plug the capture card into your iPad's USB-C port. Make sure you have an iPad with USB-C running iPadOS 17 or later, such as the iPad Pro, iPad Air 4 or later, or iPad Mini 6.
- Download the free Orion app from the App Store. The app will detect the connected camera and turn your iPad into an external monitor.
- You can now use your iPad's large screen to monitor your camera's output in real-time. This makes it easier to check focus, composition, and make adjustments during shoots.
- For an enhanced experience, consider getting a stand to position your iPad conveniently. The Orion app also allows adjusting brightness and hiding on-screen controls.
By using your iPad as an HDMI monitor for your camera, you get a high-quality, portable solution to monitor your footage and make better-informed decisions during the shoot.
Use Your iPad as an HDMI Monitor for Gaming Consoles
You can use your iPad as an external HDMI monitor for gaming consoles like PlayStation, Xbox, and Nintendo Switch with iPadOS 17 and a simple setup:
- Connect an HDMI capture card to your iPad's USB-C port using a dongle or adapter. The capture card converts the HDMI input to a video feed your iPad can display.
- Plug your gaming console's HDMI output into the capture card's HDMI input.
- Open a compatible app like Capture Pro on your iPad to display the video feed from the capture card.
- Your iPad will now mirror the screen of your connected gaming console, allowing you to play on the iPad's display.
The game controller connects directly to the console, not the iPad, since the iPad is just displaying the video stream. This setup provides a portable, low-latency way to game on your iPad's screen.
To use this feature, you need:
- An iPad with USB-C (iPad Pro, iPad Air 4+, iPad mini 6, iPad 10th gen) running iPadOS 17
- An HDMI capture card like the Genki Shadowcast or Elgato HD60 S+
- A gaming console with HDMI output
- A compatible app like Capture Pro or Orion
With the right setup, you can enjoy console gaming on your iPad's high-quality display, even while traveling. The iPad can also run apps alongside the game feed using features like Stage Manager.
Use Your iPad as an HDMI Monitor for a Secondary PC Monitor
Here are the steps to use your iPad as a secondary monitor for your Windows laptop or desktop using HDMI:
- Update your supported iPad to iPadOS 17. The following iPads are supported: iPad Air (5th gen or later), iPad Pro 11-inch (3rd gen or later), and iPad Pro 12-inch (5th gen or later).
- Connect an HDMI cable to your laptop. If your laptop has a mini DisplayPort, use a mini DisplayPort to HDMI adapter. For USB-C laptops, use a USB-C to HDMI adapter. For desktops without available HDMI ports, use a USB-A to HDMI adapter.
- Connect the HDMI cable to a video capture device like the Elgato Cam Link 4K or similar. This allows the HDMI signal from your laptop to be sent to the iPad.
- Connect the video capture device to your iPad using a USB-C cable.
- On your iPad, go to Settings > Display & Brightness > Arrangement and turn off Mirror Display.

- Windows will now recognize the iPad as a second display. In Display settings, set the iPad resolution to 1920x1080 and extend the display rather than mirror.
- Adjust the relative position of the iPad display in Windows to match your physical setup.
With these steps, you can use your iPad as a wireless secondary monitor for your Windows computer without needing any additional software. This allows you to extend your desktop, use PowerPoint Presenter View, and share the iPad display in video calls.
Tips for Maximizing Productivity and Display Quality
- Stable Connection: Ensure all connections are secure to prevent signal loss. Regularly check for any wear and tear on cables and adapters.
- Optimize Settings: Adjust display settings on both your iPad and the external monitor for the best resolution and performance.
- Wireless Alternatives: If you prefer a wireless setup, consider using AirPlay or similar technologies, though they might not be as stable as wired connections.
By following these tips, you can effectively use your iPad as an HDMI monitor for a variety of applications, from gaming to professional presentations.
Troubleshooting Common Issues and Advanced Tips
Using an iPad as an HDMI monitor can be a versatile solution for various display needs, but it comes with some challenges and opportunities for enhancement. Here's a comprehensive guide on troubleshooting common issues and advanced tips and tricks for optimizing your experience.
Troubleshooting Common Issues
Connectivity Issues:
- Ensure Proper Adapter Use: If your iPad doesn't have a native HDMI port, you'll need an appropriate adapter, like the Apple Lightning to Digital AV Adapter for older iPads or a USB-C to HDMI adapter for newer models.
- Check Connections: Make sure all connections are secure. Loose cables can cause intermittent connectivity or no connection at all.
- Update iPadOS: Ensure your iPad is running the latest version of iPadOS, as updates can fix compatibility issues with external displays.
Display Lag:
- Change Display Settings: If you experience lag, adjusting the display settings can help. For example, turning off Dolby Vision in favor of High Dynamic Range (HDR) can improve performance.
- Use Wired Connections: Wireless HDMI transmitters can introduce lag. Whenever possible, use wired connections to minimize latency.
General Troubleshooting:
- Restart Devices: Sometimes a simple restart of your iPad and connected devices can resolve display issues.
- Check for Interference: Wireless setups can suffer from interference. Ensure your environment is free from obstructions and electronic interference that can disrupt the signal.
Advanced Tips and Tricks
Optimizing Display Settings:
- Adjust Brightness and Color: Navigate to Settings > Display & Brightness on your iPad to fine-tune the display settings for optimal viewing.
- Use Third-Party Apps: Apps like Orion can turn your iPad into a versatile HDMI monitor, allowing for a more refined control over display settings and connectivity options.
Enhancing Your Setup:
- Invest in Quality Accessories: Use sturdy stands or cases designed to hold the iPad securely while connected to HDMI. Adjustable stands can help position the iPad at the optimal viewing angle.
- Use a Capture Card: For a more seamless experience, especially with devices like gaming consoles or cameras, a USB-C capture card can provide a more stable connection and better performance.
Other Considerations:
- Heat Management: HDMI transmitters and intensive tasks can cause your iPad to heat up. Ensure your setup allows for adequate ventilation to prevent overheating.
- WiFi Interference: When using wireless HDMI transmitters, be aware that they can interfere with your WiFi connectivity. This can affect internet-based tasks on your iPad while it's used as a monitor.
By following these tips and troubleshooting steps, you can effectively use your iPad as an HDMI monitor for a variety of applications, from gaming to professional presentations.
Conclusion
Using your iPad as an HDMI monitor is an innovative and versatile solution that can enhance your productivity, entertainment, and creativity. With the right hardware and software setup, you can transform your iPad into a high-quality external display for various devices, from gaming consoles and cameras to computers.
Don't hesitate to experiment and share your experiences with the community, as this innovative approach continues to evolve and offer new possibilities. If you found this guide about using iPad as an HDMI monitor helpful, consider sharing it with others who might benefit from using their iPads as HDMI monitors. Your feedback and insights can also contribute to improving this guide for future readers.


